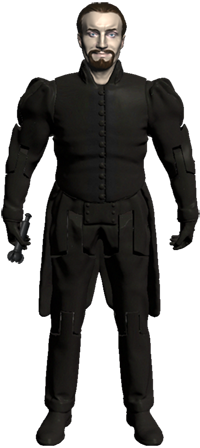
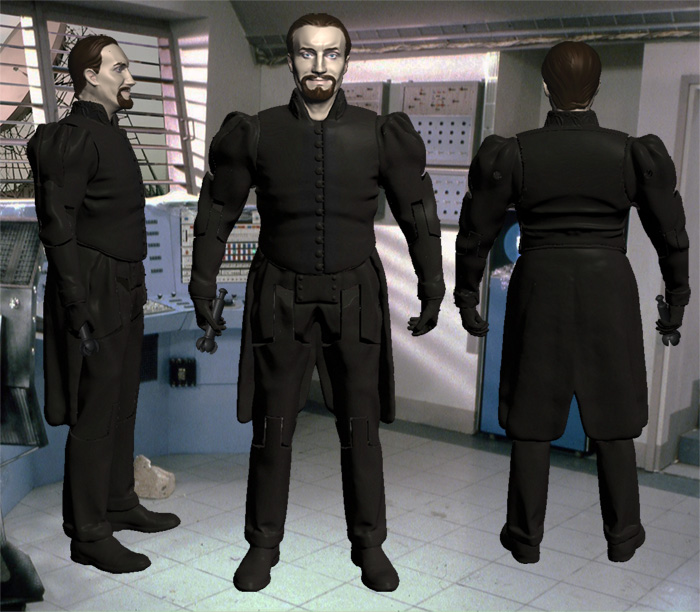
Templates
Guest Templates
Non-Who Designs
To-Do List
FAQ
Gallery
Links & Thanks
Facebook
Back to Index
3D PRINTING DOCTOR WHO

050 - The Master (Ainley)
From Logopolis (1981) through The Ultimate Foe (1986)
Version 1 - Updated 8/20/2025

Beta: https://drive.google.com/file/d/1RCtcX67Uj2gBKAYGZDh7YtRX8J9m1qNG/


The head for this figure was built using a photo of Anthony Ainley and Meshlab's "Make My Statue" app. And then mucked about with significantly. The rest of the figure was built in a combination of Meshlab and TinkerCAD as is my usual practice.


File/Print Recommendations
The files used to print this figure are the same, regardless of whether you are printing in PLA (filament) or SLA (Resin.)

If you are printing out of resin, I recommend using a 20% mixture of flexible resin like 3DMaterials SuperFlex (preferred, if you can get it) or SirayaTech Tenacious as a strengthening agent for the figure as a whole. The lower arms, tailcoat, and TCE accessories should be printed out of 100% flexible resin if you want the hands to be able to grip, the tailcoat to bend, and the petals of the TCE not to shatter at the slightest touch.

If you are printing with filament, consider using PLA+ for the head and hands for maximum surface detail. The optional TCE accessories will likely be too small to print properly.


Additional Parts & Supplies
This figure requires at least one 1.5mm wide brass rod to be trimmed to length for the shoulder, elbow, knee, and hip pivots. These craft rods can be found cheaply online or in some hardware and craft stores.Alternatively you can use a wire coat hanger, small nail, stiff wire, or even a toothpick, though you may need to widen some holes prior to final curing with a small manual hand drill.


Pre-Painting Instructions
Before you paint or assemble you figure it is recommended that you put all pieces together without glue to make sure that all points of articulation move smoothly throughout their complete range of movement. If a part does not rotate/swivel freely, don't force it.
You may need to carefully sand down some parts or drill out some holes using a manual hand drill, but typically not more than about 0.5 mm.


Paint/Color Reference

Anthony Ainley's Master costume remained largely unchanged from Logopolis through Ultimate Foe.The oultfit is solid black velvet, and even his shoes are solid black. The collar appliqué is typically a whitish silver, tough sometimes appears a little more golden depending on lighting (mostly significantly in Logopolis, which had slightly softer lighting compared to the much brighter lights used during later seasons). The inner area of the appliqué is a little darker than the outer edges.

The Master's eyes are a deep steel blue, and his dark hair tends to look slightly lighter brown around the roots and temples.


There are three slightly different versions of The Master's Tissue Compression Eliminator (TCE). The original Logopolis version had noticeable side-tubes, and five "petals" when it opened up. The internal light appears copper in some scenes and in others is a small bare bulb.

The second, most common version has four "petals" an internal white globe that covers the functional lightbulb.

The third "VFX" version pops up randomly in some stories, most notably Planet of Fire where the prop (which was starting to fall apart) simply does not have the internal white globe and has a visible bare bulb or wooden peg similar to the orginal Logopolis version where they either lost or forgot to insert the white globe cover, or used Quantel Paintbox to add the white blaster effect in post production.


Assembly Instructions

Begin by inserting your 1.5mm wide brass rod into the shoulder and elbow holes. Snip the rod about 1-2mm shorter than the hole. You can then seal the open end of the hole with UV craft resin, glue, or sculpter's putty to seal the rod in place.

Then repeate this process for the knees.

Once all four limbs are assembled, insert another 1.5mm brass rod through the hole in the side of the hips to attach the legs to the crotch. Seal up the hole, then glue the tailcoat to the back of the crotch, attaching it by the two pegs. Note that the tailcoat is designed to very slightly curve around the edge of the body, which helps hold it in place. If you printed out of flexible resin or PLA, this should be no problem. If you printed out of solid resin, you may have to slightly sand down the front corners of the tailcoat to be able to slot it into place.


insert the T-plugs for the two shoulders and top of the crotch into the body and glue the back in place to lock them into their sockets. Make sure that the shoulders and waist spin freely and did not get any glue on them.

Finally, attach the swappable head onto the neck peg, but do not glue it in place. While this figure does not currently have any alternate heads, I or somebody else may conceivably create a second one later. The head should remain in place due to friction alone, but still rotate when you want it to. If not, you can try adding a small amount of tape or silicon Plasti-Dip to the neck peg.

Finished Example
Coming soon.


Designs featured on this page are protected under Creative Commons License CC BY-NC-SA (Attribution-NonCommercial-ShareAlike) and will only remain available as long as licensed versions of the figures do not exist. All files, including all future releases will stop being shared if *ANYONE* is discovered attempting to produce and sell figures based on these designs for financial gain.

If you aren't sure what this means, read the F.A.Q. page, or just assume that if you are requesting money in exchange for products printed using these templates, you are breaking the project rules and DON'T DO IT!

Doctor Who and all related IP rights belong to the BBC. This is a not-for-profit fan site for personal entertainment purposes only.
No copyright infringement intended.